
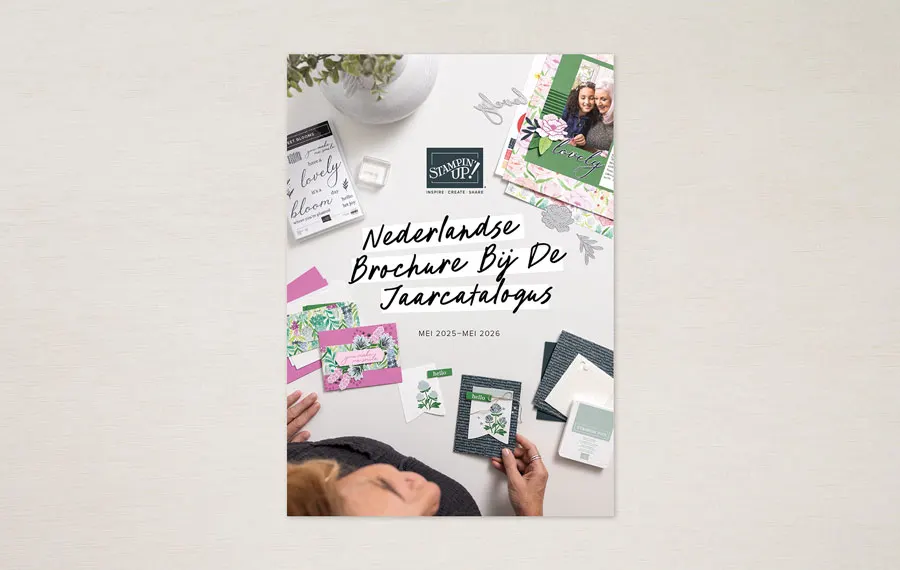
*This blogpost is in English & Dutch*

Welkom bij deze New At Su Blog Hop! Maak met deze hop een reisje over de wereld langs diverse demonstrators om ideeen met diverse nieuwe producten of actueel nieuws te zien. Je bent nu aangekomen in Nederland, bij de Kijkkast, en mijn naam is Annette Elias.
Welcome to this New at Su Blog Hop! Travel around the world with us and visit several demonstrators to see new ideas with new products or other interesting things! You have arrived in the Netherlands at De Kijkkast, and my name is Annette Elias.

Deze maand gaan we je mogelijkheden van de nieuwe Stampin'Positioner laten zien!
This month we will share the possibilities of the new Stampin'Positioner!

As you may know this is our newest stamping Tool, and this month you can get it as a FREE EXTRA GIFT coming with your Starter Kit! At a (much?) later moment the tool be available to order, but why would you, when you can get it for free now?


Er zijn meer Positioneertools voor het stempelen, en ook Stampin'Up! heeft er eerder eentje gehad, maar deze Stampin'Positioner heeft een aantal mogelijkheden die de anderen niet hebben. Daarvan ga ik er vandaag eentje laten zien. Hier gebruiken we alleen de basisplaat, de grote stempelplaat en de magneetjes.
There are more positioning tools for stamping, and even Stampin'Up! had one before, but this new Stampin' Positioner has some options others don't have. Today I will show you one of them. This time we will only use the base plate, the stamp plate and the magnets.

Eerste handige eigenschap is het driehoekje dat je hier op de foto ziet. Het zit aan de bovenkant in het midden. De twee opstaande dotjes onderaan hebben een net iets andere vorm dan de andere dotjes.
First clever addition is the triangle you can see on this picture. It is at the top of the base plate, in the centre. The two small lower dots have a slightly different shape than the others.

Je kunt hierdoor heel handig je cardstock in deze hoek plaatsen. Door de schuine stukjes aan de dotjes valt het papier bijna vanzelf netjes op z'n plek. Hierdoor kun je met het papier in een diagonale stand stempelen.
This makes it easy to place your cardstock in this corner. The angled dots help to make it possible to slide the paper into position without any effort. This feature makes it easy to stamp with your cardstock in a diagonal position.

De volgende handige eigenschap is het meetrandje in zowel centimeters als inches, met het nulpunt in het midden, oplopend naar weerszijden. Dit maakt het heel makkelijk om je papier netjes te kunnen centreren!
The next convenient feature it the measuring that is done in both centimeters and inches, starting in the middle with the 0, going up in both the left and right direction. This makes it supereasy to centre your paper!
Beide eigenschappen gebruiken we voor mijn tutorial van vandaag. Ik ga je stap voor stap laten zien hoe je met deze Stampin'Positioner heel makkelijk kransen kunt stempelen, zonder extra malletjes, hulpstukken of wat dan ook!
Both features will be used for my tutorial of today. I will show you step by step how you can easily stamp wreaths with this Stampin'Positioner without any extra templates, more tools or whatever!


De stempelset die ik ga gebruiken is Fragrant Layers!
The stampset I will use is Fragrant Layers!


Ik begin met een stuk Basic White cardstock van 11,5 bij 11,5 cm. Maar dit kan ook een andere maat zijn hoor! Dit leg ik netjes gecentreerd bovenaan tegen de rij kleine dots. De eerste stempel leg ik waar ik hem wil hebben. De stempelplaat leg ik er op, ik druk hem aan om de stempel op te pakken door hier licht op te drukken, verwijder de plaat weer, beinkt de stempel, plaats de plaat weer en druk licht op de stempelplaat om de afdruk te maken.
I start with a piece of 11,5 x 11,5 cm Basic White cardstock. But this can be any size you like. I place this piece nicely centred on the top, touching the row of small dots. I place the first stamp where I want it to be stamped, place the stampplate on top of it, pick up the stamp by pushing the plate down and then remove the plate to ink the stamp. Then I put it back, and softly push the plate to stamp the first image.


Nu til ik de plaat weer weg, draai ik het cardstock een kwart slag, en herhaal ik het beinkten en stempelen van de bloem op dezelfde manier. Dit herhaal ik tot ik vier bloemen gestempeld heb.
Now I lift the stampplate from the base , turn the cardstock 90 degrees, repeat the inking and stamping of the flower the same way. I repeat this until I have stamped the flower four times!


Nu wordt het leuk, want nu plaats ik het cardstock in het driehoekje, en herhaal ik het inkten en stempelen, terwijl de stempel nog steeds op exact de zelfde plek op de stempelplaat zit! De Positioner is zo ontworpen dat dit precies aansluit op de eerder gestempelde bloemen. Hoe handig!
Ook dit doe ik vier keer. Nu heb ik een eenvoudig kransje!
Now the fun begins, because now the cardstock is placed in the triangle, and I repeat the inking and stamping, while the stamp is still at the same spot on the stamping plate. The positioner is so well designed that this fits perfectly with the earlier stamped flowers! How clever! This is also repeated four times. Now I have a simple wreath!


Nu plaats ik het blaadjesstempeltje tussen de bloemen, en stempel ook deze vier keer, terwijl mijn cardstock steeds weer in het driehoekje geschoven ligt
Now I place the leaf stamp between the flowers and stamp this four times again, while the cardstock is again and again placed in the triangle.


Deze stap kon ik nu ook herhalen door het papier weer recht te centreren maar ik vond het leuker voor een wat speelsere optie te gaan. Ik leg dus de stempel weer tussen de bloemen, maar nu aan de binnenkant van de krans, en stempel ook deze weer vier keer. Kijk eens hoe leuk!
I could have repeated this with the cardstock nicely centred horizontally, but I wanted to go for a more playful option. So I place the stamp between the flowers again, but now on the inner side of the wreath. I stamp it four times again. And look how nice that is!


Nu ga ik alvast wat kleur toevoegen. De eerste vier bloemen vul ik weer in met kleur in de driehoekstand, met Strawberry Slush, daarna de volgende vier bloemen met Fresh Freesia met het papier in de rechte, gecentreerde stand.
Now I start adding some colour. The first four flowers are filled up with colour in the triangle position, with Strawberry Slush, the next four in the straight, centred position with Fresh Freesia.


Als extra optie heb ik de twee tegenover elkaar liggende bloemen nog eens overgestempeld met de tweede kleur, zodat je een mengkleur krijgt. Door de Positioner wordt dit heel makkelijk!
As an extra option I have the two opposite flowers stamped again with the other colour, so you get a mixed colour there. The Positioner makes layering supereasy!


Vervolgens vul ik ook de blaadjes met kleur, met de prachtige groene tint Shy Shamrock!
Now I also fill the leaves with colour, with the lovely green Shy Shamrock!


Net als ik deed met de groene blaadjes stempel ik de kleine bloemetjes in Timid Tiger aan de buitenrand en binnenrand van de krans. De bloemhartjes stempel ik in Darling Duckling en Pretty in Pink.
Just as I did with the green leaves, I now stamp the smaller flowers at the outer edge and inner edge of the wreath in Timid Tiger. The different flowercentres get some colour with Darling Duckling and Pretty in Pink.

En als laatste stempel ik op de zelfde manier nog de dotjes in Shy Shamrock, om het groen wat te balanceren. Nu is de krans mooi gevuld, dus ik kan de kaart af gaan maken!
And as a final step I stamp some dots in exactly the same steps in Shy Shamrock, to balance the green a bit! Now the wreath is nicely filled so it is time to finish the card!
Ik inkt de randen en mat het paneel op bijpassende kleurtjes cardstock!
I am inking the edges and mat the panel on matching colours of cardstock!

Had je gezien dat al die kleurtjes In Colors zijn? Wat zijn dit toch een heerlijke kleuren!
Did you notice that they are all In Colors? These are such gorgeous colours!


Ik stempel de tekst op een reststrookje en decoreer dit met een warrelige strik van gespleten en uitgerafeld lint, uiteraard weer in een bijpassend kleurtje.
I stamp the text on a scrap strip, and decorate it with a messy bow of split and fringed ribbon, ofcourse in a matching colour.

Het is echt zo ontzettend leuk om te doen! En deze Stampin'Positioner kan dus ook binnenkort van jou zijn! Je kunt HIER je eigen startpakket samenstellen, door producten uit te kiezen ter waarde van 175 euro, waarvoor je slechts 129 euro betaalt... En je krijgt daarbij de Positioner gratis, als extra kado, meegestuurd. Deze actie duurt nog tot en met 2 maart!
It is so much fun to make a wreath this way! And remember.... this Stampin'Positioner can soon be yours too! You can assemble your own Starterkit... You choose your own favourite products HERE with a 175 euros value, and only have to pay 129 euros for it. On top of that, you will get the Positioner as an extra gift!

Heb je zin om ook deze techniek uit te proberen? Ik wel hoor, en weet je wat zo leuk is? Met deze Stampin'Positioner kun je ook op Scrapbookformaat werken. Dat ga ik binnenkort ook eens doen!
Do you feel like trying this technique too? I love makingmore wreath cards!! And you know what is fun as well? With this Stampin'Positioner you can also work on scrapbooksized cardstock! I will try this very soon as well!

Zo, dit was mijn bijdrage voor de New At SU Bloghop, en hopelijk vond je het een beetje leuk. Een reactie onder mijn blogpost stel ik altijd enorm op prijs! 💓Alle gebruikte producten zijn via de Kijkkast te bestellen, en mocht je vragen hebben mag je altijd even contact met me opnemen. Ik help je met alle plezier!
Dank voor je bezoek aan de Kijkkast, en heel graag tot snel! XXX Annette
Well, this was my attribution to the New at SU Blog Hop, and I hope you liked it. A reaction below my blogpost is always very much appreciated.💓 When you have any questions, please feel free to ask, I will be happy to help you.
Thanks for visiting de Kijkkast, and I hope to see you back soon! XXX Annette 💚
Wat heb ik gebruikt:
Stempels: Fragrant Layers
Papier: Cardstock: Basic White, Timid Tiger, Shy Shamrock, Fresh Freesia,
Inkt: Smoky Slate, Fresh Freesia, Strawberry Sluch,Darling Duckling,Shy Shamrock, Timid Tiger,Pretty in Pink
Embellishments: Faux Linen Ribbon Strawberry Slush, Bakerstwine Essentials Pack
Tools: Stampin'Positioner, Blending Brushes, Shammy

Van 18 tot en met 20 februari:
Gratis verzending van je bestelling vanaf 75 euro!

Lees HIER alle nieuws en acties van februari!!

Voor elke Kortingscode krijg je 6 euro korting op je bestelling.
Lees HIER alle info.
Eerstvolgende (MEE)besteldagen:
Maandag 23 februari, 19.00 uur
Dat kan 7 dagen per week, 24 uur per dag!


Product van de maand Februari!
Het Exclusieve Designpapier Painted Illusions
kun je voor slechts 6 euro meebestellen bij een bestelbedrag vanaf 90 euro
Lees HIER de info!
Lees HIER de info!


Gewoon vanuit je eigen huis, op je eigen moment, in je eigen tempo!
Koopjes en laatste kans items aangevuld!!
volop koopjes!
Zo veel MOOIS!
Er zijn weer nieuwe ONLINE ONLY-PRODUCTEN!
Volop nieuwe items, die niet in de catalogi staan!
Je vindt ze >>HIER<<
Voel je welkom bij de Kijkkast VIP Lounge!
Extra voorbeelden, Kijkkast Lives, Online open huis, extra tips, gratis workshops!

Lees HIER hoe ook jij Kijkkast VIP kunt worden!

💓De allerbeste DEAL: Het Stampin'Up! Startpakket!💓
Kies voor 175 euro en betaal slechts 129 euro
Krijg vervolgens minimaal 20 procent korting op volgende bestellingen,
Gratis toegang VIP Lounge! en meer!
Alleen in februari ontvang je GRATIS EXTRA bij je Startpakket de nieuwe Stampin'Positioner!
Lees HIER alle info over deze actie!
KIJKKAST WORKSHOPS!!
Check >>>HIER<<< het nieuwe workshopprogramma voor de komende tijd!!!
en spaar voor gratis producten!
***Met diverse Clubvoordelen ;o)***
Catalogus aanvragen:

of de nieuwe voorjaars Mini Catalogus ontvangen?
Vraag deze nu bij mij aan via een >>email<<! Opsturen of afhalen is mogelijk!
Meer info is te vinden op de Catalogus Info
Love, love, love this wreath, Annette! Can't wait to try this. Thanks for sharing this!💕
BeantwoordenVerwijderen