
*This bloghop is in English and Dutch*
Welkom bij de Stampers Showcase Bloghop! Vandaag maken we weer een "reisje over de wereld" om allerlei leuke stempelprojecten te gaan zien! Je bent nu in Nederland, bij Annette Elias, van de Kijkkast. Leuk dat je er bent!
Welcome to this Stampers Showcase Bloghop. Today we make "a trip around the world" to see all kinds of fun Stamping projects. You now have arrived to the Netherlands! Hello, my name is Annette Elias from de Kijkkast, and I am so happy to see you here!

Deze maand richten we ons helemaal op de Sale-A-Bration! De eerste maand van dit grote stempelfeest is inmiddels al weer om! We gaan vandaag heerlijk aan de slag met alle mooie artikelen die je in deze periode gratis kunt verdienen!
This time we are focusing on the Sale-A-Bration! The first month of this stampin'party has already passed by now! Today we will show you some more inspiration with all the lovely products that can be earned for free in this period.
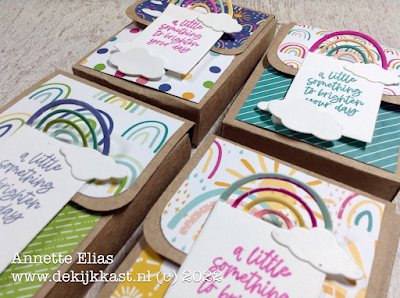
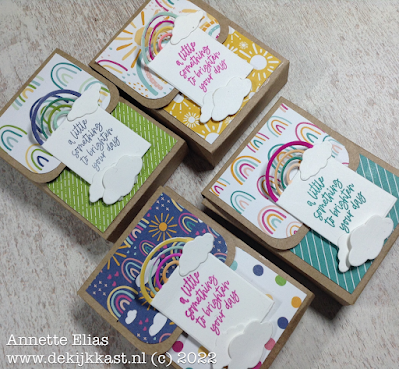
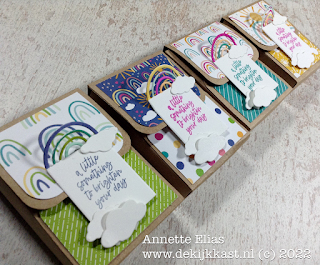
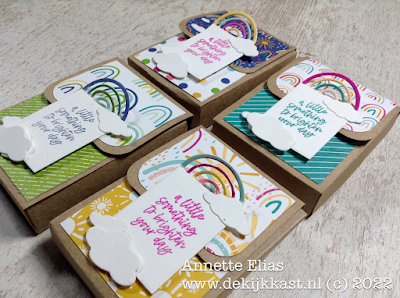
Vandaag maakte ik een set van vier schattige, kleurrijke, vrolijke, kleine, fijne doosjes!
For today I made a set of four cute, colourful, fun, little boxes!
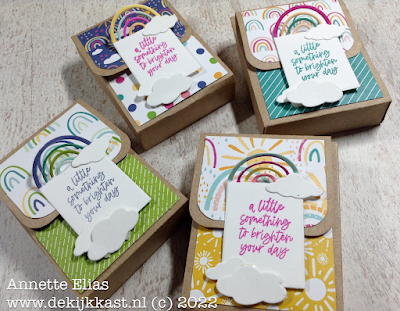
Bedoeld om weg te geven, met een leuke kleine verrassing er in, en zo iemand blij te maken!
Meant as a little something to give to someone, to brighten their day!
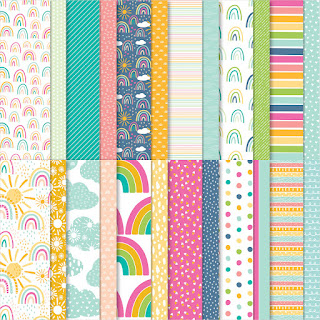
Bij dit projectje wordt de show gestolen door het geweldig leuke designpapier: De naam is Sunshine and Rainbows, oftewel Zonnestralen en Regenbogen. Dit papier is een Sale-A-Brationproduct, je kunt het gratis uitkiezen bij een bestelling vanaf 60 euro
The most eyecatching product of this project is the lovely Designer Series Paper. The name is Sunshine and Rainbows. This paperpack is a Sale-A-Brationitem. You can choose it as a free gift with your 60 euro's order.
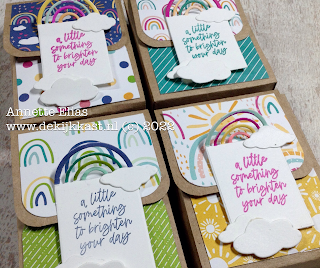
Alle doosjes zijn een beetje anders, maar ze zijn allen op dezelfde manier gemaakt!
All boxes are all a bit different, but they are all made in the same way!
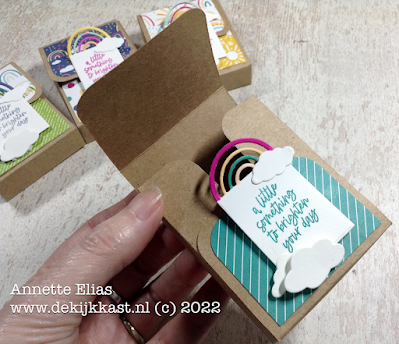
De binnenkant en de wijze waarop je het doosje opent maken het een extra leuk projectje!
Misschien komt dit projectje je bekend voor? Dat kan kloppen, want ik maakte het eerder, in november, in een kerstvariant! Je vindt deze post HIER!
Naar aanleiding van die post klamen er talloze verzoekjes om een tutorial, en die heb ik dus voor jullie gemaakt!
The inside, and the way it opens make this a fun little project!
Maybe you will realize you have seen something similar on this blog already? Well, in that case you are right, I made a Christmasversion earlier. You can find that version HERE!
In respons to that blogposts I received several requests for a tutorial, so I made one for you!
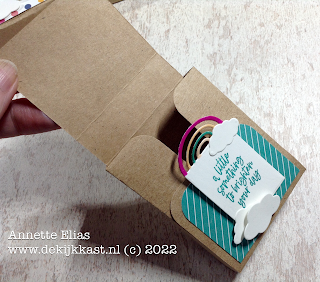
Bovendien is het doosje zo gemaakt dat ik zo "economisch"mogelijk uitkwam met het gebruikte 6 x 6 inch Kraftpapier waarmee ik de basis van elk doosje maakte.
I tried to design the box in a way that is as "economical"as possible with the 6 x 6 inch Kraft Paper that I used for the bases of the boxes.
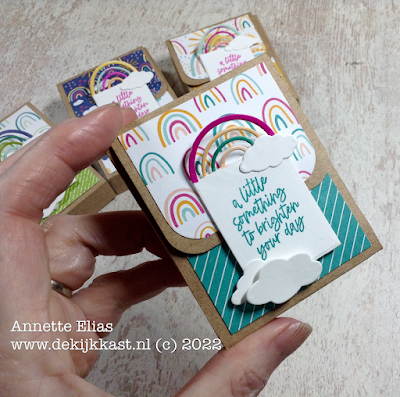
Natuurlijk heb ik de doosjes passend gedecoreerd!
Ofcourse I decorated the boxes in a way that fits the paper!
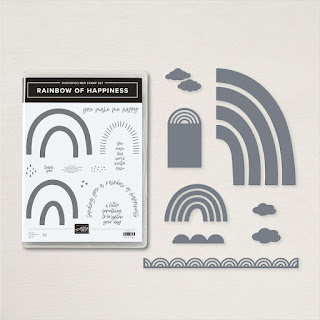
Hiervoor gebruikte ik de Rainbow of Happiness stempelset met de bijpassende Brilliant Rainbow Dies! Deze set is ook als voordeelpakket te bestellen en is te vinden in de nieuwe Minicatalogus.
Het Regenboog designpapier is hier natuurlijk perfect op afgestemd!
For this decoration I uses the Rainbow of Happiness stampset with the matching Brilliant Rainbow Dies! The set can also be ordered as a bundle, and you can find it in the new Mini Catalog.
Ofcourse the Sunshine & Rainbows DSP is perfectly coordinated with this bundle!
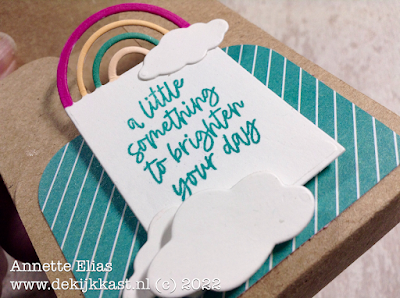
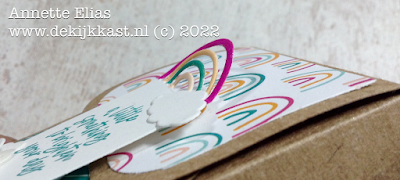
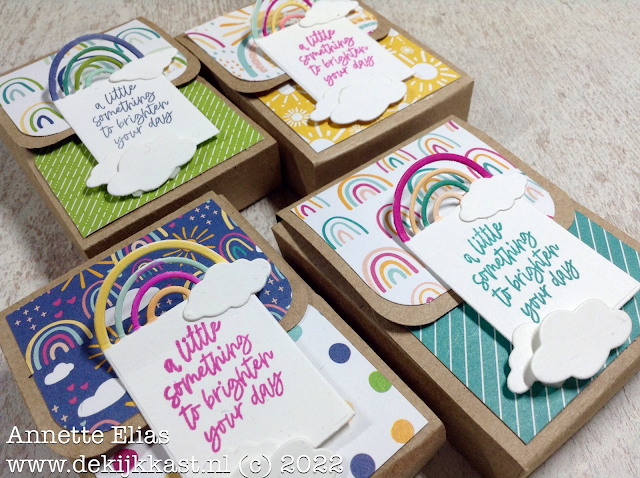
Het vrolijke label is niet alleen versiering, maar dient ook als sluiting van de doosjes!
This happy Label is not only meant as a decoration, but it is also a closure for the box!
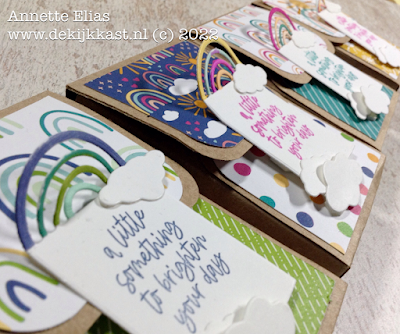
Door de boogjes een beetje omhoog te vouwen krijg je een ontzettend leuk 3d effect!
By folding the bows on the labels a bit up, you get a nice 3d effect!
Hieronder vind je een complete videotutorial voor het maken en decoreren van deze doosjes! Alle maten vind je hier onder. Ik heb de maten zowel in inches als in centimeters vermeld.
Below you find a videotutorial for making and decorating these boxes! All sizes are listed below the video. I have added the sizes in inches, as well as in cm.
VIDEO:
Zijn ze niet schattig?
Aren't they cute?
Maten in inches (en tussen haakjes in cm) /Sizes in Inches (and between brackets in cm)
Basis:
6 x 6 inch Kraftpapier (of 15 x 15 cm)
Ril op twee tegenoverliggende zijden op 1 inch en op 1 3/4 inch ( of op 2,5 en 4,5 cm)
Ril vanaf de onderrand op 2 en op 2 3/4 inch (of op 5 en 7 cm)
Base:
6 x 6 inch Kraft cardstock (or 15 x 15 cm)
Score on two opposite sides on 1 inch and on 1 3/4 inch (or 2,5 and 4,5 cm)
Score on the bottom at 2 inch and on 2 3/4 inch (or 5 and 7 cm)
---
Inzetstuk:
2,5 inch x 6 inch Kraftpapier (of 6 x 15 cm)
Ril op 2 inch en op 2 3/4 inch (of op 5 en 7 cm)
Inlay-piece:
2,5 inch x 6 inch Kraft Cardstock (or 6 x 15 cm)
Score at 2 inch and on 2 3/4 inch (or at 5 and 7 cm)
---
DSP 1
Kies hiervoor het "drukkere"motief :
2,25 x 1,75 inch ( of 4,5 x 5,5 cm)
2.25 x 2 7/8 inch ( of 5,5 x 7,5 cm)
DSP 1:
Choose the more "vibrant" design for this:
2,25 x 1,75 inch ( or 4,5 x 5,5 cm)
2.25 x 2 7/8 inch (or 5,5 x 7,5 cm)
---
DSP 2:
Kies hiervoor het "rustigere" motief:
2,25 x 1,75 inch (of 4,5 x 5,5 cm)
DSP 2:
Choose the more "subtle" design for this
2,25 x 1,75 inch (or 4,5 x 5,5 cm)
Heel veel plezier met dit leuke project! Laten we heel veel leuke lieve dingen maken en uitdelen, en samen zo een beetje vrolijkheid verspreiden!
Wil je deze doosjes ook maken? Bij de Kijkkast kun je terecht voor alle materialen en waar nodig help ik je graag met advies. Alle gebruikte producten vind je in de lijst onderaan deze blogpost!
Have fun making this happy little project! Let's make lots of sweet fun things and share them, and that way spread some love and happiness around us!
All used products are in the list below this blogpost!
Ik hoop dat ik je met mijn project wat heb kunnen inspireren! Nu is het dan tijd om de bloghop te vervolgen en nog meer mooie nieuwe producten en voorbeelden te gaan bekijken! Bedankt voor je bezoek aan de Kijkkast en tot snel! XXX Annette
I hope that my project has given you some inspiration! Now it is time to continue this bloghop, and find lots of more new projects with new products!! Thanks for visiting de Kijkkast, and I hope to see you again soon! XXX Annette

Stempels: Rainbow of Happiness
Papier: Cardstock: Basic White, Kraft Paper Pack
DSP: Sunshine & Rainbows DSP (SAB)
Inkt: Magenta Madness, Bermuday Bay, Misty Moonlight
Dies: Brilliant Rainbow Dies
Pons: Detailed Trio Punch
Stampin'Blends: Petal Pink, Flirty Flamingo, Magenta Madness, Mango Melody, Pool Party, Misty Moonlight
Tools: Stampin'Trimmer, Bone Folder, Paper Snips



Eerstvolgende (MEE)besteldagen
Maandag 31 januari om 19.00 uur
Maandag 7 februari om 19.00 uur
De Kijkkast-JANUARI-actie: Gebruik de actuele hostcode QT2KF34W
en ontvang bij een bestelling vanaf 85 euro
nu gratis een pakje Artistry Blooms Sequins twv 8,50 euro!
TIP: Bestel je voor 200 euro of meer mag je voor 10 procent van je bestelbedrag
GRATIS producten uitkiezen!
Het grootste stempelfeest van het jaar!
Sale-A-Bration, 4 januari-28 februari
Het grootste stempelfeest van het jaar!
Kies GRATIS producten uit bij je bestelling!
Klik HIER voor alle info!
💓De allerbeste DEAL: Het Stampin'Up! Startpakket!💓
Kies voor 175 euro producten uit en betaal slechts 129 euro
Laat dit vervolgens gratis (zonder verzendkosten!) naar je huis versturen.
Je krijgt hierbij ook nog gratis catalogi ed meegestuurd!
*****Tijdens de Sale-A-Bration mag je bij dit alles
tijdelijk ook nog twee gratis stempelsets naar keuze uitkiezen!****
en bestel -als je dat wilt- voortaan je eigen stempelmaterialen met altijd minstens 20 procent korting!
Lijkt dit jou ook een topidee? Neem snel contact met mij op! Dan help ik je verder!
Catalogus aanvragen:

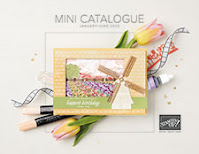
Wil jij de nieuwe catalogus, SAB brochure en/of Minicatalogus ontvangen? Vraag ze nu bij mij aan!
Klik HIER
NIEUWE THUISWORKSHOP!!!! Meld je NU aan!


Binnenkort te boeken, de nieuwe Happy at Home Workshopbox!!
Meld je snel aan!
Wil je ook een supercomplete Kijkkast WORKSHOP doen vanuit je eigen huis?
Klik hier voor alle info over de >> Happy-At-Home Workshopbox! <<
en spaar voor gratis producten!
***Met diverse Clubvoordelen ;o)***


