
***This Blogpost is in English and Dutch!***
Welkom bij deze bloghop van het International Totally Techniques Designteam! We hebben ook deze
maand weer een leuke techniek "uitgediept" en laten je samen diverse voorbeelden zien!
Leuk dat je er bent!
Welcome to this Bloghop of the International Totally Technique Designteam! This month we have chosen another fun technique again and together we will show you several examples of it! Happy to see you here!
Deze maand gaan we heerlijk kliederen met de Bubble Techniek!
This month we will have some messy fun with the Bubble Technique!

De Bubble techniek is eigenlijk kort gezegd: Door middel van water met zeep en reinker bubbles maken die je gebruikt om een bubblemotief op je papier te maken!
Simply said the Bubble technique is using water, soap and reinker to make bubbles that are used to bring colour and bubbleshapes on your paper!
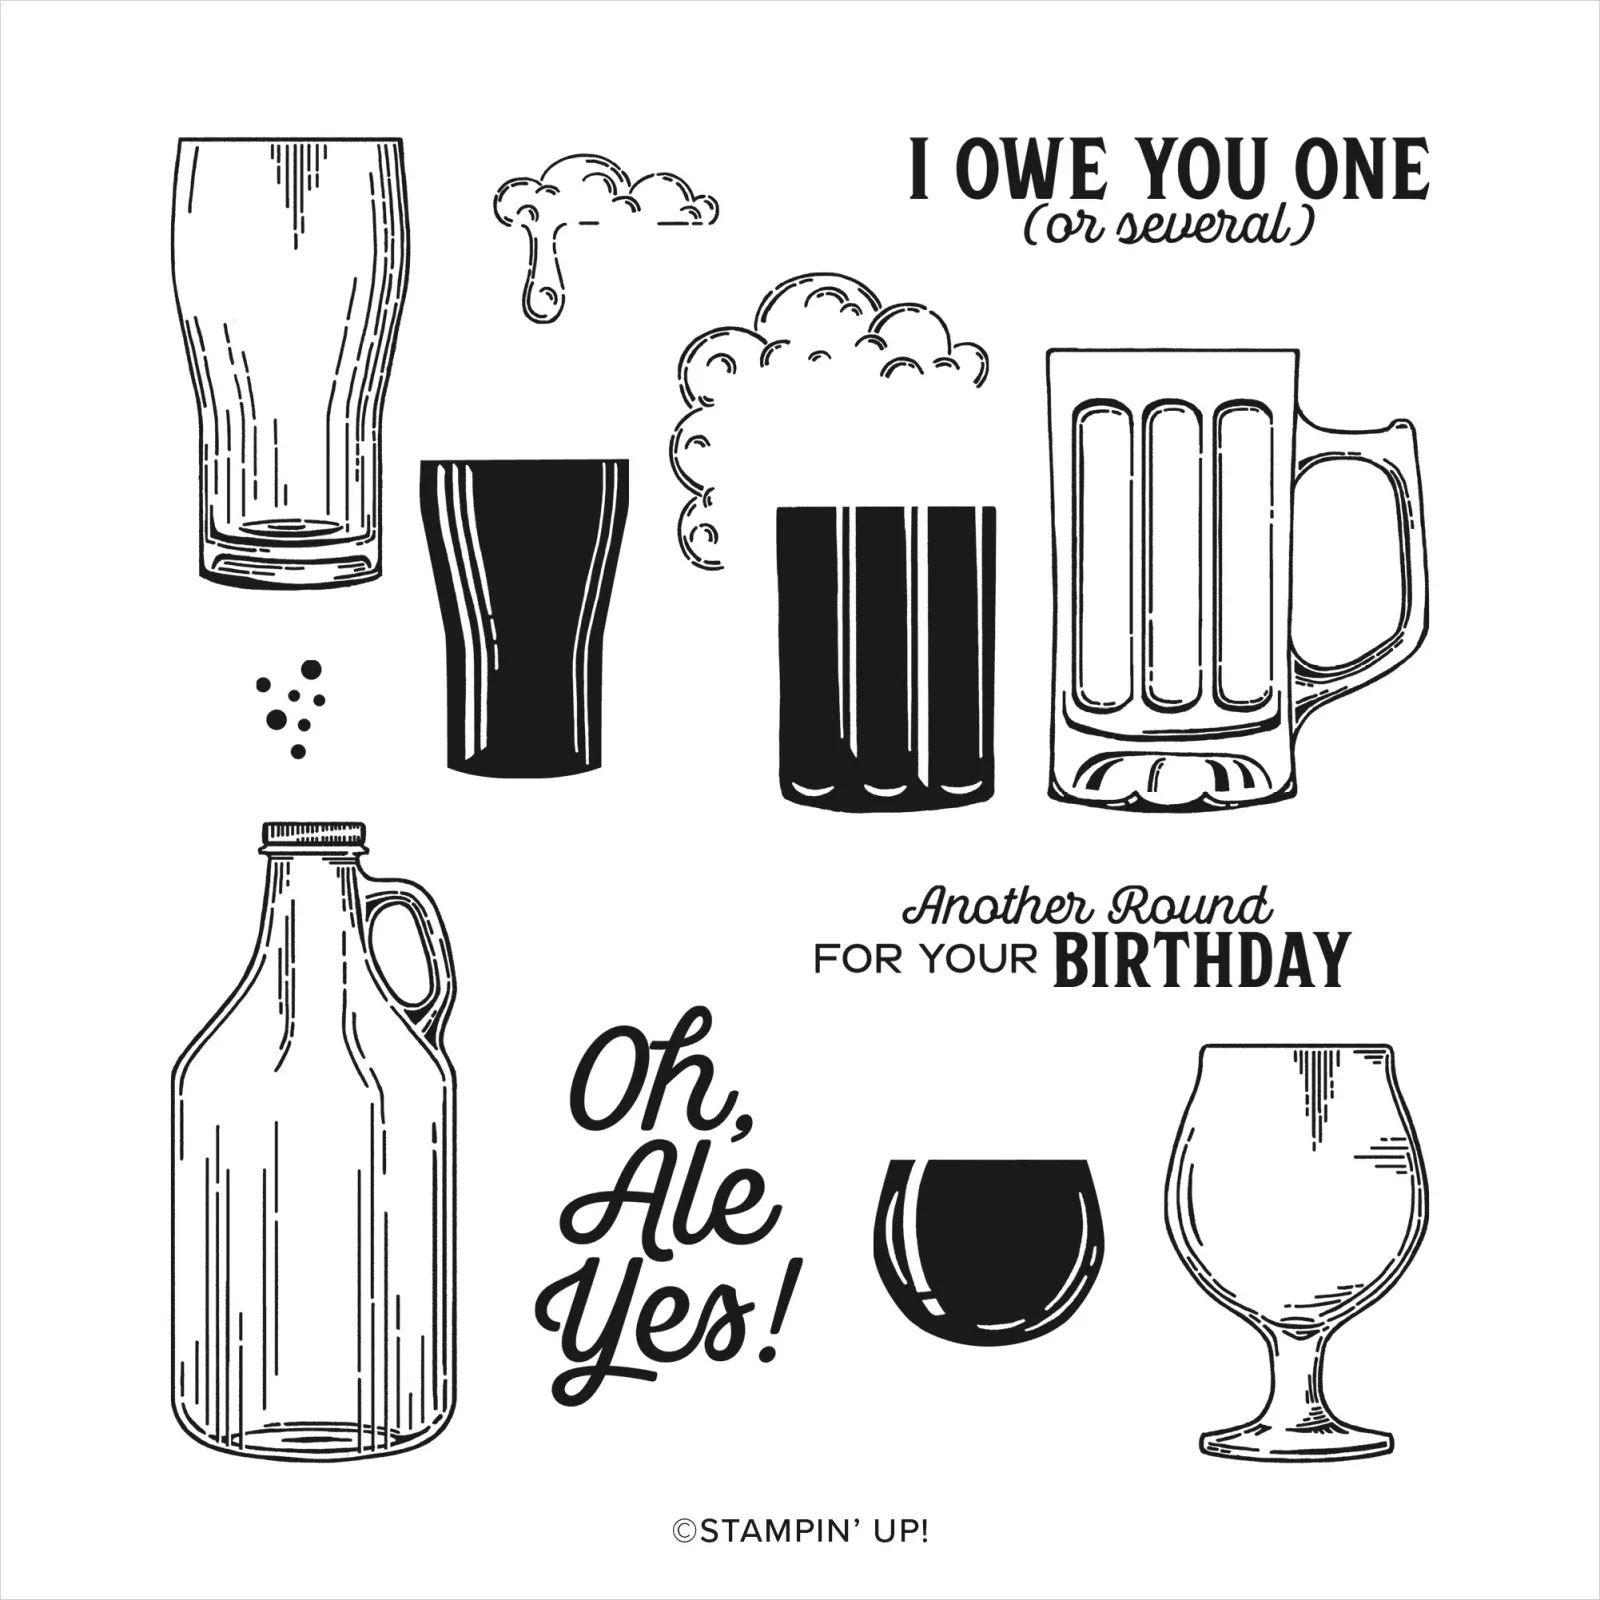

Toen ik hoorde dat we deze maand deze techniek zouden gaan doen, moest ik meteen aan deze geweldige set Brewed For You denken, met de bijpassende Brewed Dies!
When I noticed we would do this technique this month I immediately thought of this gorgeous set Brewed For You, with the matching dies!

Maar met de techniek zoals deze gewoonlijk gedaan wordt, namelijk met een rietje, en dan dus bellen blazen, krijg je hele grote bubbels, en dat wilde ik niet!
But with the technique as it is usually done, by blowing through a straw, you get rather big bubbles, and that was not what I wanted!

Ik wilde juist kleine belletjes, die doen denken aan blondschuimend bier!
I wanted small bubbles, that remind of fresh bubbly beer!

En dat is me gelukt, dus ik ga je vertellen hoe ik het heb gedaan!
And I managed to achieve the effect I wanted, so I will tell you how I did it!


Ik naam een wijde schaal, en deed er ongeveer een centimeter water in. Ik voegde een eetlepel afwasmiddel bij, en een vijftiental druppels Ink Refill in de kleur Crushed Curry. Dan even roeren! Vervolgens ging ik het kloppen, net als je doet met slagroom en een garde. Ik gebruikte er een vork voor! Als de schaal gevuld is met schuim dep je met het papier op het schuim tot overal wat zit, en daarna leg je dit weg om te drogen. Ik gebruike hier Thick Basic White Cardstock voor. Als het helemaal droog is zie je pas hoe het is geworden.
I took a wide bowl, and filled with 1 cm of water, one table spoon of fluid dishcleaner and 15 drops of Crushed Curry Ink refill. I stirred it. Then I started Whipping it, like I would do with cream. I simply used a fork to do this. When the bowl is filled with foam it is time to dip the paper in the foam until it is covered. It is okay to let some bits open! Then I layed it to dry, with the bits of foam still on top of it. I used Thick Basic White Cardstock for this. When it is all dry you can see the final results.


Terwijl het papier droogde kon ik alvast mijn bierglazen en bierflesjes stempelen, instempelen en uitstansen. Na het stempelen van de inhoud bracht ik accenten aan met Stampin. Blends. Dit kun je ook overslaan, maar ik vond het leuk wat extra dimensie toe te voegen. Ik stempelde er ook mini belletjes in met de stempel uit de set. De bierflesjes kleurde ik helemaal met Stampin'Blends in de serie natuurkleuren/huidkleuren. Om de glazen en flesjes extra leuk te maken bracht ik "condensdruppeltjes"druppels aan met Enamel Effects! De druppels drogen dimensionaal op! Voor de bierglazen koos ik de goudkleur, voor het bierflesje de bronskleur.
While the paper was drying I started with the Beerglasses and bottles... Stamping, two step stamping, and diecutting. After stamping the beer in the glassed I added extra depth with Stampin'Blends. You can skip that step ofcourse, but I just liked adding something extra. I also stamped little bubbles in the glasses with the stamp in the set. The bottles were coloured with Stampin'Blends from the Natural colour/skicolour collection.. To give both the bottles and the glasses some extra interest I added some condensation drops with Enamel Effects. These drops keep their dimension when they dry! I used the gold colour for the glasses and the bronze for the bottles.


De warme kleur van het bierflesje vond ik erg mooi en ik wilde wat hout terug laten komen in diezelfde warme tint. Daartoe gaf ik een stuk cardstock in de kleur Copper Clay een houtstructuur met de Timber Embossingfolder, en hier wreef ik vervolgens met een Early Espresso Inkpad overheen. Het resultaat: Net echt,en precies de kleur die ik nodig had!
I very much liked the warm colour of the beer bottle and wanted to add some wood in that same warm colour. So I took some Copper Clay cardstock and gave it a wood structure with the Timber Embossingfolder. Then I carefully wiped over it with an Early Espresso Inkpad. The result: Very realistic and exactly the colour I was looking for!

Ondertussen was mijn papier helemaal droog, en hoera, het was net wat ik wilde. Het doet echt aa bier denken! Experiment geslaagd!
By then my paper had dried completely, and hip hip hurray, it was looking right like I hoped it would! It really is very Beerlike! Experiment succeeded!


Uit het "houtpapier"stanste ik paneeltjes met de Nested Essentials Dies, en bevestigde deze op mijn bubbleachtergronden. Het geheel kwam op een laagje Early Espresso Cardstock.
From the "woodpaper"I diecute some panels with the Nested Essentials Dies, and adhered those to the bubblebackgrounds. Then I matted the backgrounds on some Early Espresso Cardstock.

Uit wat restjes en dezelfde stansset stanste ik wat decoratiebanners voor bovenaan de kaarten!
From some leftover pieces and the same diesset I diecut some decorationbanners for both cards!


Daarna schikte ik alle onderdelen op de eerste kaart....
Then I arranged all the elements on the the first card....


En ook op de tweede!
And ofcourse on the second as well!

De teksten heat emboste ik in wit op wat Early Espresso Cardstock
The texts were heat embossed in white on some Early Espresso Cardstock

Wat Glossy Dots voegde ik toe voor het contrast, en wat Linnen draad kwam bovenaan de kaart, maar verder wilde ik ook genoeg lege ruimte overhouden om de gemaakte Bubble achtergrond goed uit te laten komen!
Some Glossy Dots were added for some contrast, and some Linen Thread was wraped around the card, but that was all. I wanted to leave enough empty space to let the bubble background be clearly visible!

Hopelijk heb ik je weer op wat ideetjes gebracht en kun je mijn variant van deze techniek waarderen!
Ik maakte trouwens nog meer achtergronden met de Bubble Techniek, ook in andere kleuren, maar die ga ik later nog tot kaarten verwerken. Je ziet ze vanzelf voorbij komen als je mijn blog blijft volgen!
Hopefully I gave you some new ideas, and I hope you appreciate my version of this technique!
I happened to make some more backgrounds in the Bubble Technique but did not turn them into cards. You will see them coming here, when you keep following my blog!
Heel erg leuk dat je vandaag bij de Kijkkast bent komen kijken! Heb je vragen? Stel ze mij gerust! Onderaan dit bericht vind je een lijst met alle gebruikte producten, en deze zijn allen te bestellen bij de Kijkkast! Ik help je graag! Dan is het nu tijd om verder te hoppen, de links naar de andere designers vind je hier onder! Heel veel plezier alvast, en hopelijk tot snel! XXX Annette💚
Wat heb ik gebruikt:
Stempels: Brewed For You
Papier: Cardstock: Thick Basic White, Basic White, Copper Clay, Early spresso, Daffodil Delight, Crushed Curry
Inkt: Daffodil Delight, Crushed Curry, Copper Clay, Early Espresso, Memento Black
Dies: Brewed Dies, Nested Essentials Dies|
Papier: Cardstock: Thick Basic White, Basic White, Copper Clay, Early spresso, Daffodil Delight, Crushed Curry
Inkt: Daffodil Delight, Crushed Curry, Copper Clay, Early Espresso, Memento Black
Dies: Brewed Dies, Nested Essentials Dies|
Stampin'Blends: Daffodil Delight, Wild Wheat, SU 100,200,300,400 uit de serie Natural kleuren.
Ink Refill: Crushed Curry
Embossingfolder: Timber
Ink Refill: Crushed Curry
Embossingfolder: Timber
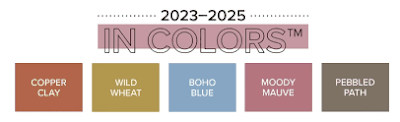
Embellisments: Embossingpowder White, Metallic Enamel Effects Basics, 2023-2025 In Color Dots, Linen Thread
Tools: Stampin'Cut & Emboss Machine, Silicon Craft Sheet, Blending Brushes,, Heat Tool
Tools: Stampin'Cut & Emboss Machine, Silicon Craft Sheet, Blending Brushes,, Heat Tool
Extra benodigdheden: Bakje, water, afwasmiddel, vork
Eerstvolgende (MEE)besteldagen
Maandag 31 juli 19.00 uur
Maandag 7 augustus 19.00 uur

Alleen bij de Kijkkast:
In juli krijg je bij een bestelling vanaf 95 euro,
en bij het gebruik van de Hostcode YSJ43WWT krijg je
gratis een pakje glinsterende, zelfklevende sequins kado!
Klik HIER om te direct te winkelen.

Van 6 t/m 31 juli krijg je een kortingscode van 6 euro voor elke 60 euro die je uitgeeft aan Stampin'Up!Producten! Je kunt ze inwisselen in augustus!

Heel veel nieuwe koopjes in het KOOPJESREK, op is op!
Aanbieding: Kijkkast In Color VOORDEELpakketten! Keus uit vier opties!
Klik HIER voor alle informatie!
Vanaf 6 juli NIEUWE
ONLINE ONLY-PRODUCTEN!
Volop nieuwe items, die niet in de catalogi staan!

(Klik op de afbeelding om het aanbod te bekijken!)
💓De allerbeste DEAL: Het Stampin'Up! Startpakket!💓
Kies voor 175 euro en betaal slechts 129 euro
minimaal 20 procent korting op volgende bestellingen
Gratis toegang VIP Lounge!
KIJKKAST WORKSHOPS!!

Check >>>HIER<<< het nieuwe workshopprogramma voor de komende tijd!!!
Catalogus aanvragen:

Wil jij de dikke Jaarcatalogus, of de nieuwste Minicatalogus ontvangen? Vraag ze nu bij mij aan!
Klik HIER voor alle info!
en spaar voor gratis producten!
***Met diverse Clubvoordelen ;o)***
Your cards are amazing!!! Love your bubble technique!
BeantwoordenVerwijderen